


SOAP MAKING
Cold Process Soap Explained
Discover how traditional soap is made.
How do vegetable oils become a handmade bar of soap? Cold process soapmaking brings together carefully chosen ingredients, precise measurements and time. Each stage contributes to the finished soap, from mixing the oils and lye to letting the bars cure. Here’s a closer look at the process.
Soap Making Process
Step 1
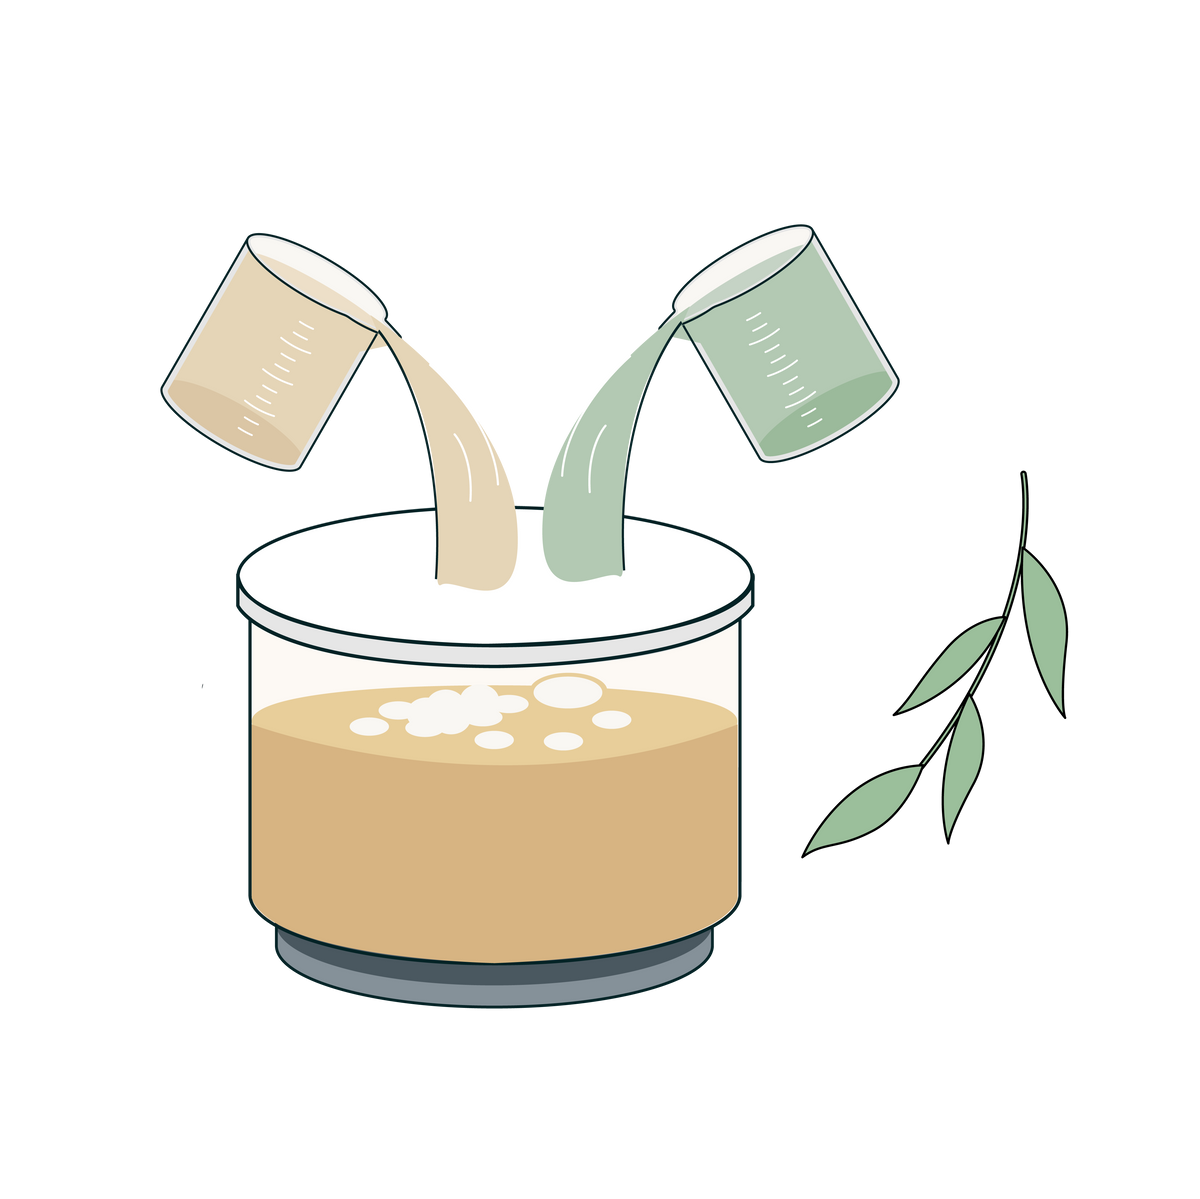
Lye, an essential ingredient
Soapmaking begins with sodium hydroxide (NaOH), dissolved in water to make a lye solution. When combined with oils and fats, it sets off saponification: the chemical reaction that turns them into soap. Lye requires careful handling, and we use it with the utmost care.
Step 2
Choosing the base oils
Vegetable oils and butters form the basis of the recipe and help determine the soap’s properties. Olive oil, coconut oil, rapeseed oil and shea butter are common choices. Each contributes something different to the finished bar, from its feel on the skin to its lather and firmness. The balance between them shapes the character of the soap.
Step 3
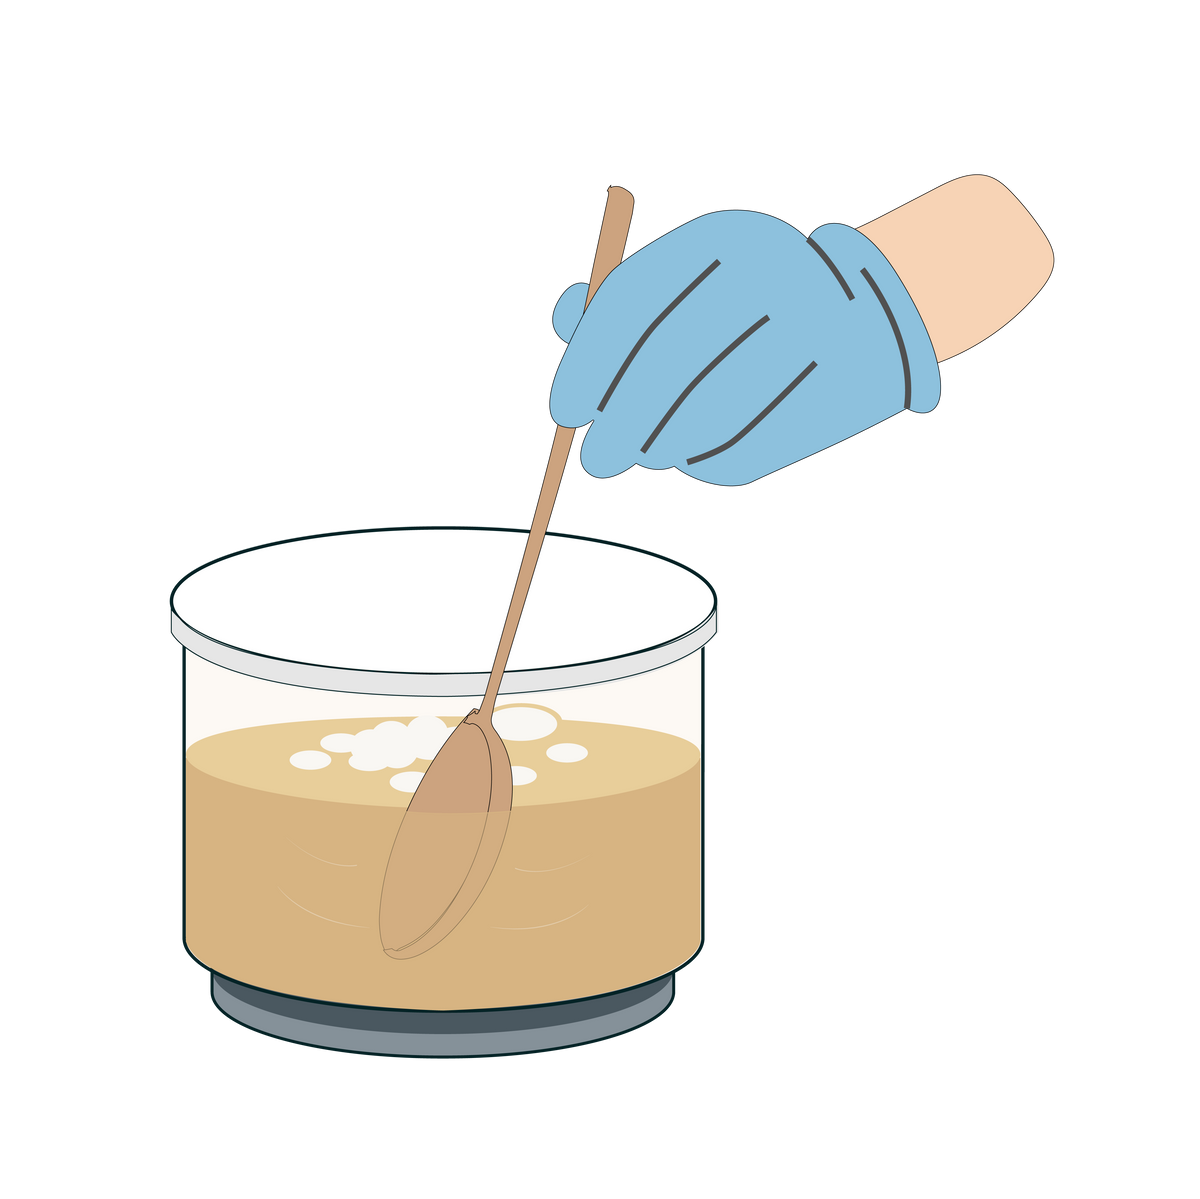
Mixing until trace
The lye solution and base oils are blended until the mixture reaches “trace”. At this stage, it begins to thicken, and a little mixture drizzled over the surface leaves a visible trail. Saponification is already underway, and the soap mixture is ready for the next additions.
Step 4
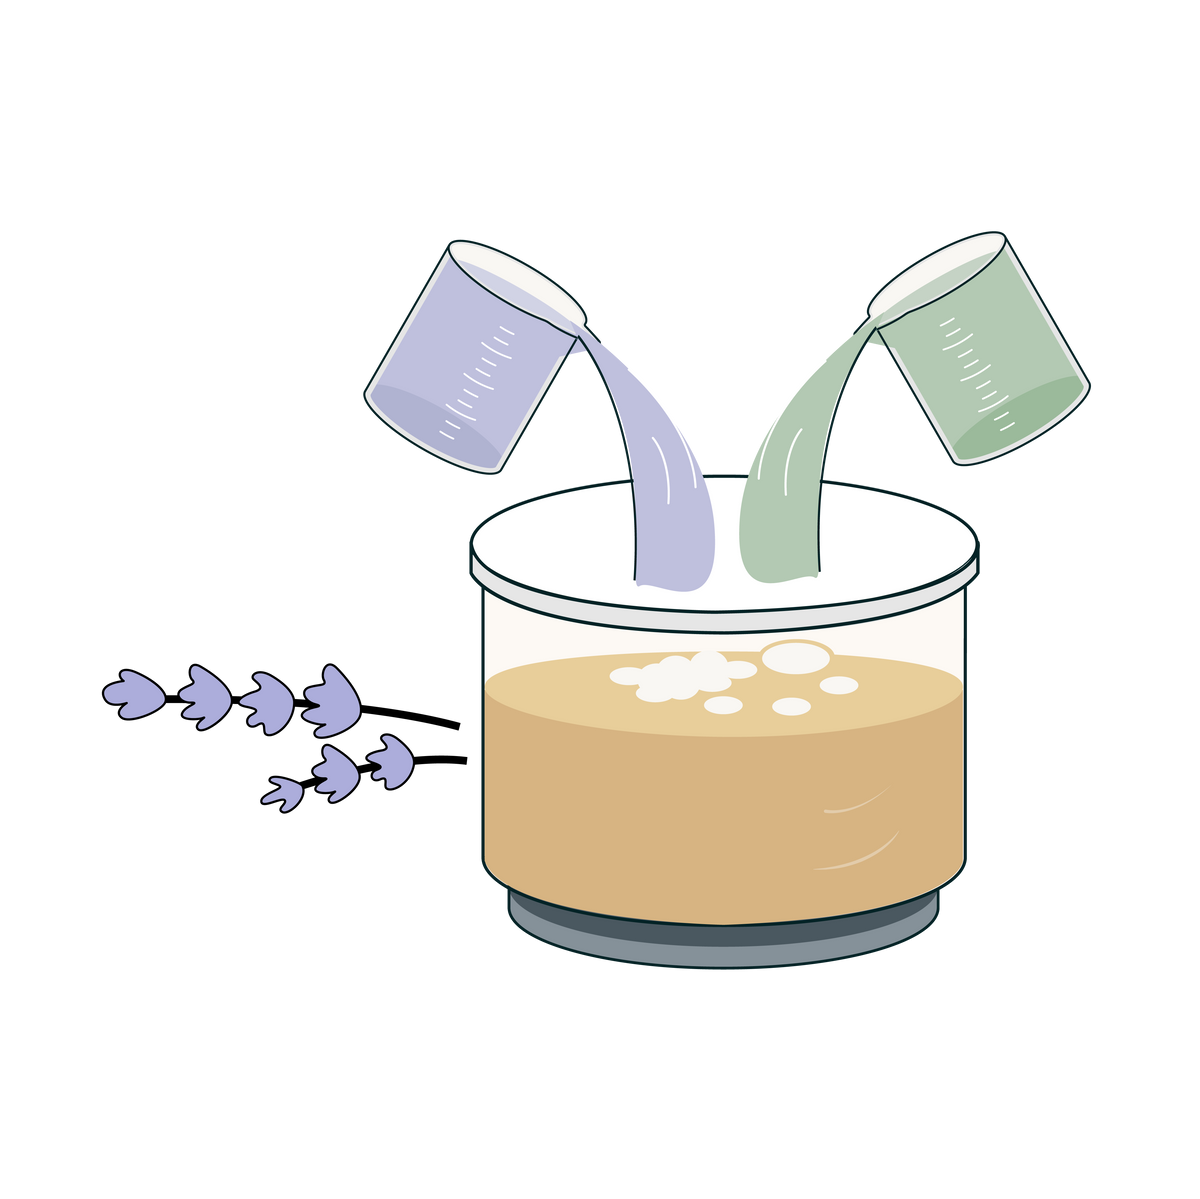
Superfatting oils and essential oils
The recipe is formulated so that some of the oils remain unsaponified in the finished soap. This is known as superfatting and contributes to the soap’s feel on the skin. Depending on the recipe, additional oils may be incorporated at trace, such as macadamia, almond, apricot kernel or hemp oil.
This is also when essential oils can be added for fragrance. Lavender, geranium, ylang-ylang and patchouli each bring their own character, from soft floral notes to deeper, earthy scents.
Temperature matters at this stage. Around 30 °C can be a suitable working temperature, depending on the recipe and ingredients.

Step 5
Pouring into molds
The soap mixture is carefully poured into prepared molds. Where needed, the molds are lined with paper to make the soap easier to remove later. This is where the bars begin to take shape.

Step 6
Letting the soap set
The soap rests in its mold for about 24 hours, depending on the recipe. During this time, it firms up as saponification continues. Once firm enough, it can be removed from the mold and cut into bars.

Step 7
Giving the soap time to cure
The bars are then left to cure for around 4 to 8 weeks, depending on the recipe. During this time, excess water evaporates and the soap becomes firmer. Curing helps improve the bar’s quality and makes it last longer in use. Some recipes benefit from an even longer curing period.

Step 8
Labeling and packaging
Once curing is complete, the bars are ready to be labeled and packaged. Carefully selected ingredients, skilled preparation and a little patience have become a handmade soap, ready for everyday use.
Natural Beauty in Your Hands
Making cold process soap is a chance to understand what goes into a product you use every day. It combines creativity with precision, from choosing the ingredients to cutting the finished bars. There’s a particular satisfaction in holding a bar of soap you’ve made yourself.